Install Gophish phishing framework Kali Linux
SOCIAL ENGINEERING

Overview of Gophish
Gophish is a phishing tool designed to simplify real-world phishing campaigns for cybersecurity professionals. It streamlines corporate cybersecurity tests on employees by consolidating all necessary tools into one platform. Gophish is developed in the Go programming language, enabling users to easily build it from source.
Requirements:
- A PC running Linux, preferably Kali Linux.
- GO language and a C compiler installed (instructions for installing GO Language).
- Basic programming knowledge.
With these prerequisites in place, let's delve into the tutorial.
Downloading and Installing Gophish
There are two methods for installing Gophish on a PC: downloading pre-built binaries or installing from the source. In this guide, we'll opt for installing using pre-built binaries.
Step 1: Installation of Gophish Using Pre-built Binaries
When installing gophish using pre-built binaries, the first step will be to download Zip files which contains the binaries built for your operating system. The different binaries can be found on their official repository on github. Once the download is complete, we can extract the contents of the zip file to a location of our liking on the PC as shown below.

Step 2: Gophish necessary permissions
After we are done with unzipping, we navigate to the newly created folder where gophish has been extracted and give it the necessary permissions for it to run without permission restrictions using the below command.

Step 3: Configure config.json
In gophish, these file contains some important configurations which ensure it is running as it is supposed to. The config.json file configurations are as shown below.
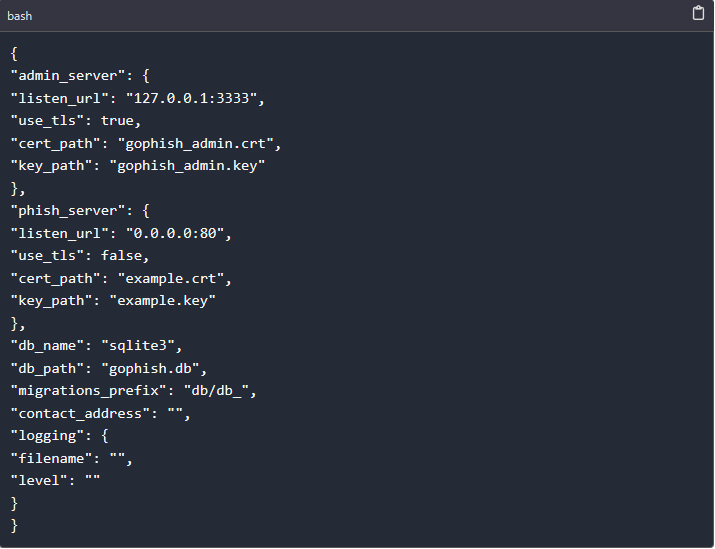

The first part at the start contains the admin server configurations, We have the admin server listen URL “127.0.0.1:333” and the SSL certificates and key. When running gophish on a VPS and want admin server to be accessible via the internet, this should be changed to “0.0.0.0:3333”.
Second part of the configuration contains the phish server configurations. The listen URL for the phishing server and the certificates for the phishing server.
The last section contains the database configuration. The framework is pre-configured to use SQLite database but a user can change the default database to fit his/her needs by changing the name and path of the database.
NOTE: You should take care not to expose the config.json to the wrong user especially when using the framework over the internet.
The admin server should only be exposed to the internet if needed.
Step 4: Running gophish
Having setup everything we are now ready to run the framework for the first time. We use the comman


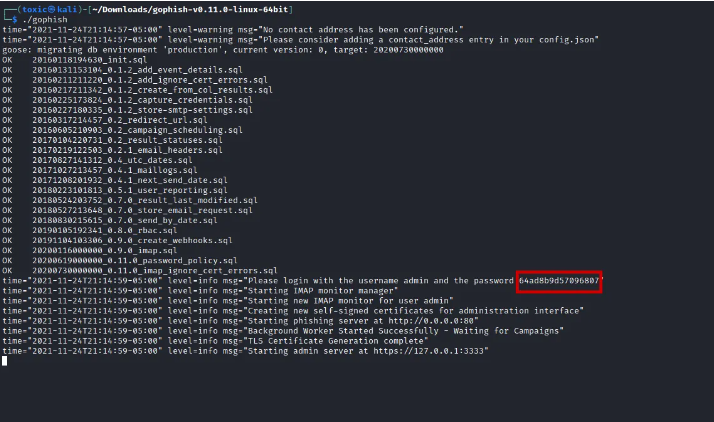

When you run gophish for the first time, the default username is “admin” while the default password can be found on the terminal where it is running.
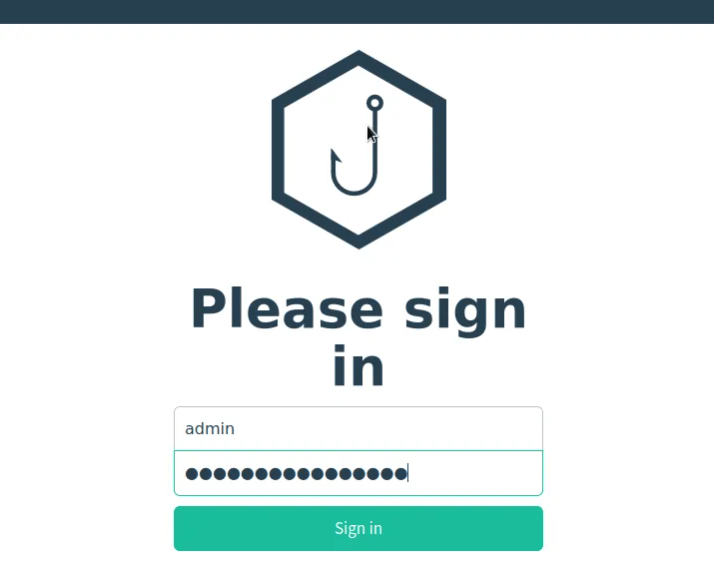
Step 5: Logging into gophish
As shown on the above screen our admin server is at https://127.0.0.0.1:3333. We open our browser and navigate to the said URL. On the screen we also have our default password which is highlighted by the red box on the screen above.

Step 6: Resetting the password
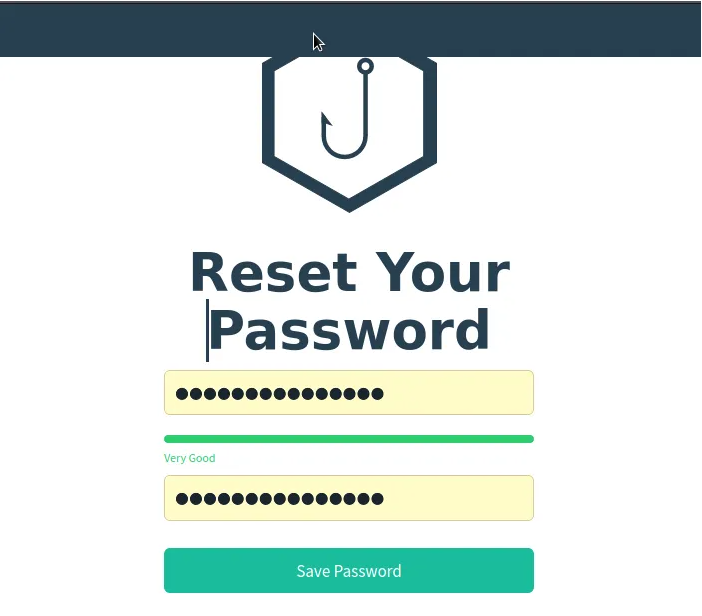
Once we login for the first time, we are required to create a new password which is more secure and one which we can be able to remember. Down below the reset password box, we have an indicator for the strength of our password. This ensure we use a much stronger password.

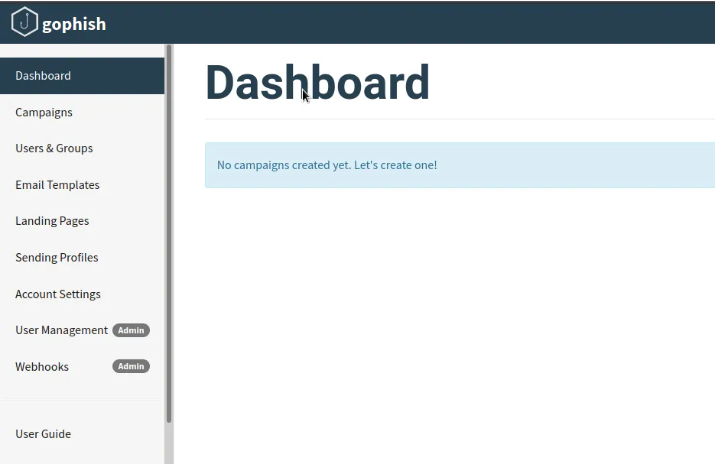
After resetting the password, we'll be logged in and prepared to launch our campaign. The framework consists of multiple pages, each serving its own purpose, as detailed below:
Overview of Gophish Dashboard:
1. Dashboard:
This page displays the results of the phishing mailer we create. It provides analysis based on the titles we specify and presents the outcomes on this page.

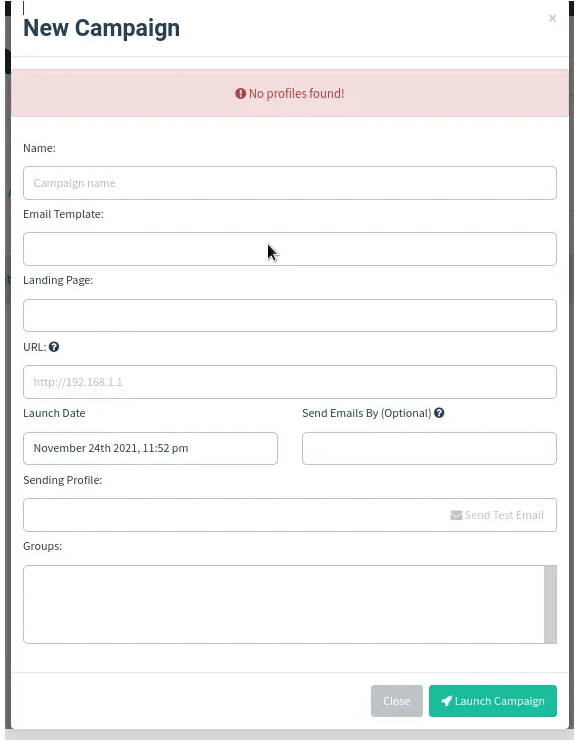
2. Campaigns
This is the page where will be viewing all the campaigns we have created and can also create new campaigns here. You may be required to provide some information when creating a new campaign. Information required include; campaign name, Email template, Landing page, URL, Date of launch and the sending profiles.

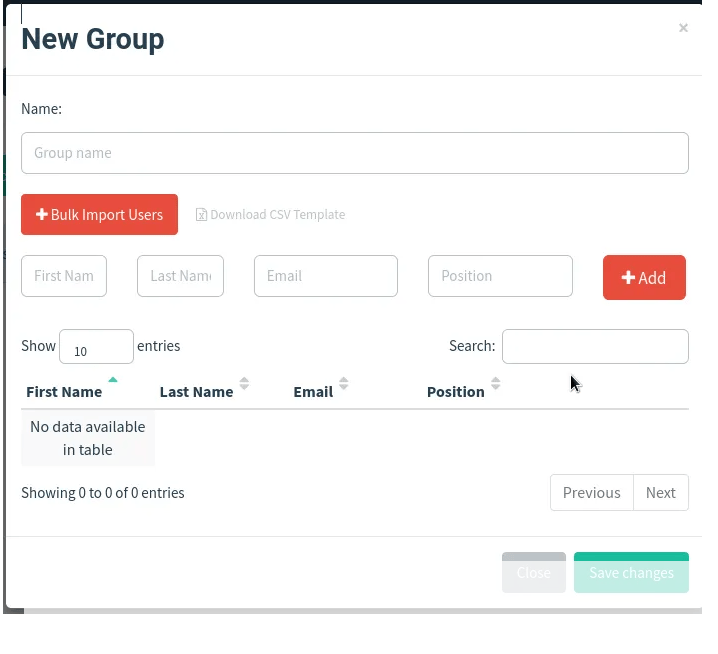
3. Users & Groups:
This page allows us to add target groups along with their first and last names. In corporate settings, these groups typically represent different departments within the organization. This feature is valuable as it enables us to tailor our social engineering tactics to specific departments within a corporate environment. Gophish offers the convenience of importing CSV files containing group-related information with just a click of a button.

4. Email Templates:
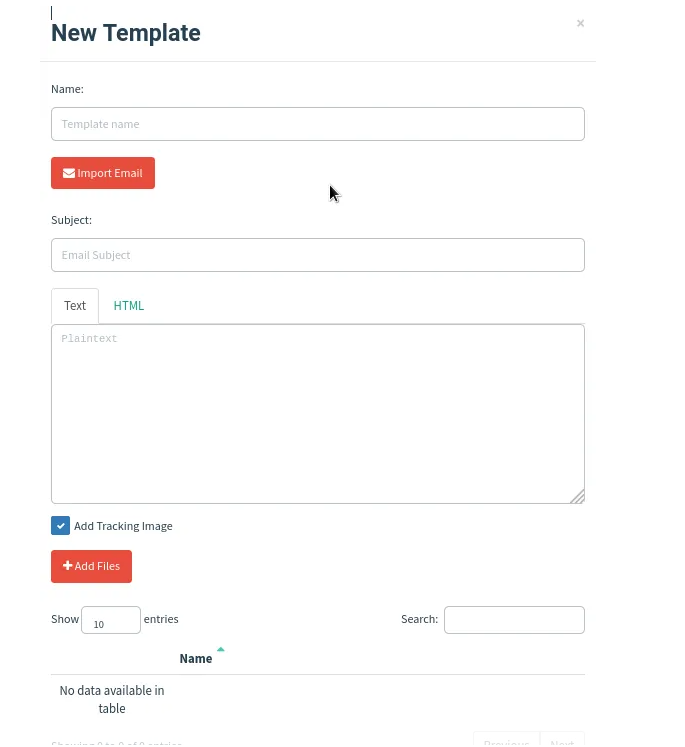
This page is where we craft various email templates for our campaigns within the framework. Additionally, there's an option to incorporate pre-made email templates into our campaigns. There's no restriction on the number of email templates we can include.

5. Landing Page:
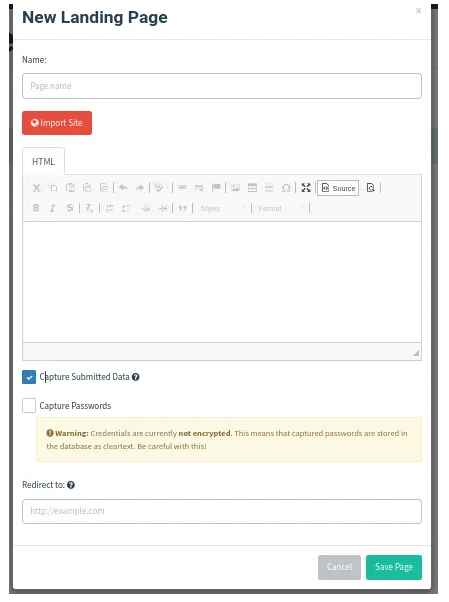
Following the user's click on the phishing link in the email, they are directed to a phishing page known as the Landing Page in Gophish. The framework offers a feature where all entered passwords can be captured with a single click. On this page, users have the option to import or create their own landing page. Additionally, they can include a redirect webpage where victims will be directed after providing their credentials to the malicious webpage.

6. Sending profiles page
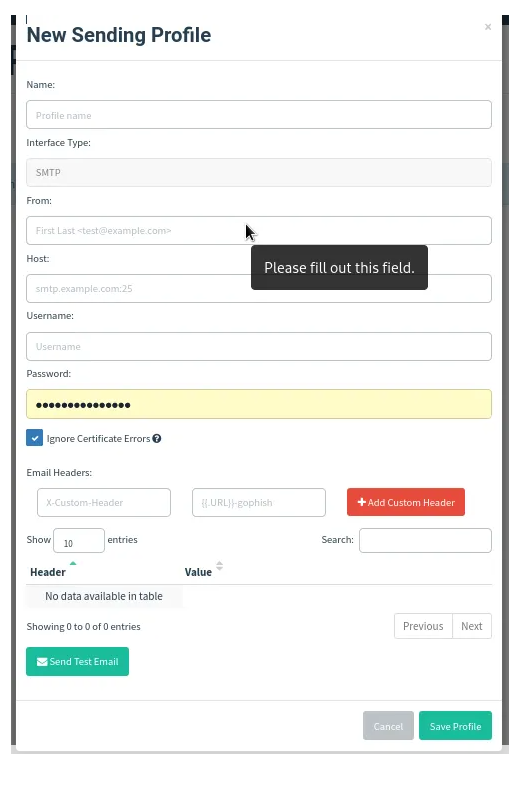
This is the page where we will add the email SMTP information for the purpose of sending the emails using gophish. A user can add multiple sending profiles to make sure they suit each of the target group.

7. Account Settings:
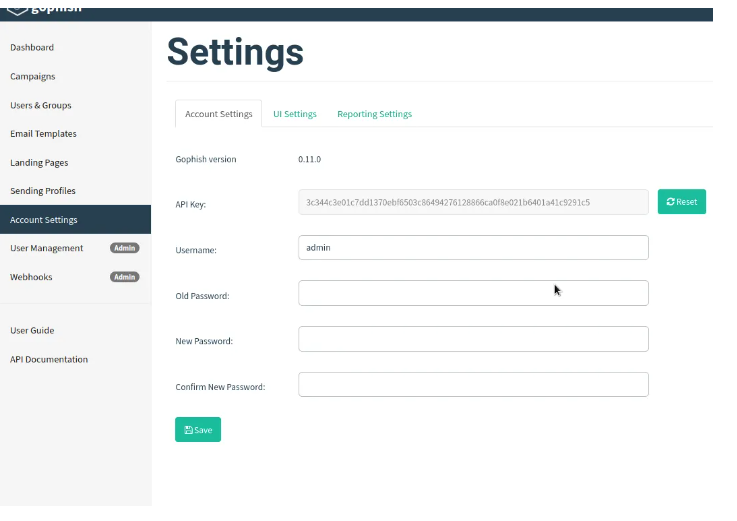
This page provides options to customize default settings according to your preferences. Here, you can modify your user password, adjust the campaign report interface to display results on a map, and configure an IMAP account to receive reports of emails flagged by users.

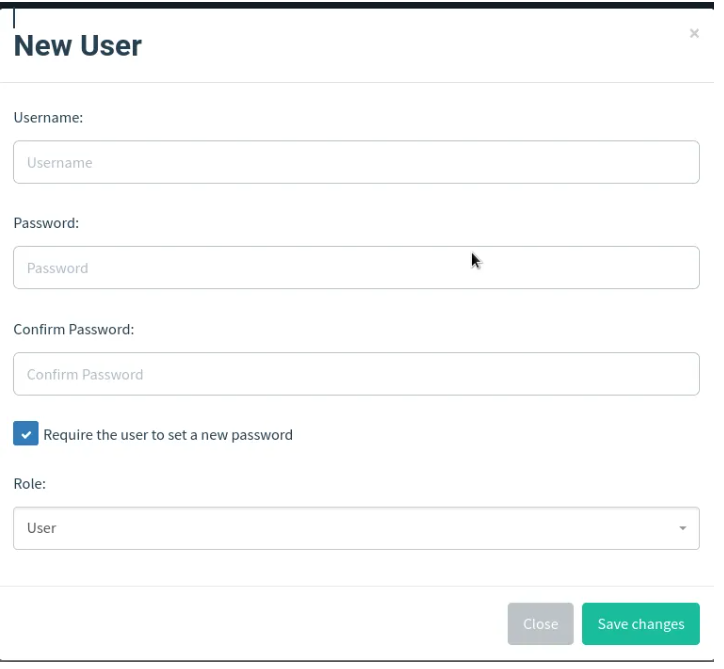
8. Users management
This page is only accessible to the administrator of the specific gophish instance. Here an admin can add new users and perform other administration roles. i.e. Giving administrator and revoking rights and removing users.

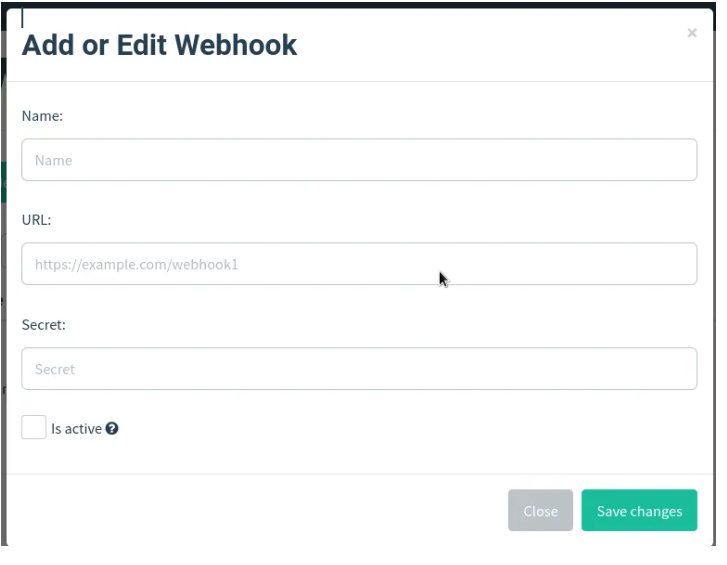
9. Webhooks page
As an administrator, you may need to get reports of the event as they happen. You can configure the framework to push this messages to your own webhook hence keeping you updated with what is happening on the gophish even when you are far from its access.

Conclusion
In the above guide we were able to to install and run Gophish phishing framework on our hacking lab. We were also able to learn different functions found within the gophish which make it the right tool for the job. Through using gophish, cybersecurity professionals can be able to launch a organization level cybersecurity tests within minutes hence saving time and resources since gophish is an open source framework. In our next guide we will be launching a campaign using gophish phishing framework.
