
How to Configure Firewall Interfaces with pfSense
ARTICLES
Firewalls are one of the most important tools in securing a network. In this guide, I’ll walk you through the exact steps I took to configure pfSense, an open-source firewall/router, to manage LAN, WAN, and DMZ interfaces. By the end of this guide, you’ll understand how to build a secure and functional network that separates public and private traffic.
What is pfSense?
pfSense is an open-source firewall and router software that’s easy to configure through its web-based interface. It allows you to control how devices on your network communicate with each other and the outside world. Think of it as a traffic cop, directing data securely and efficiently.
Configuring LAN and WAN Interfaces
The first step in setting up pfSense is configuring the LAN (Local Area Network) and WAN (Wide Area Network) interfaces. This ensures your internal devices can communicate securely and access the internet.
Step 1: Plan Your Configuration
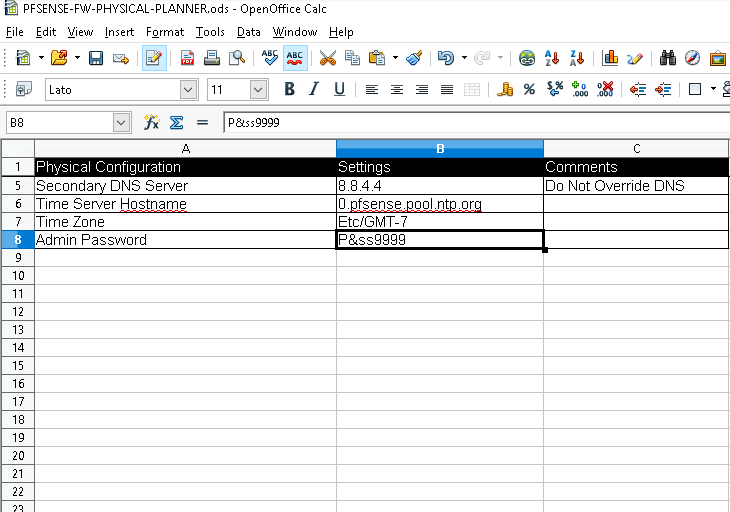
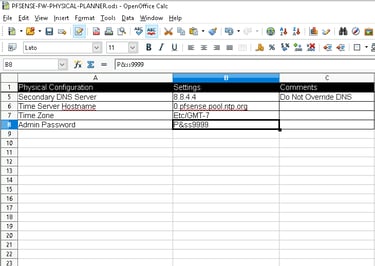
Before jumping into the configuration process, it’s important to plan the details of your network. I documented everything in a configuration worksheet to ensure the setup was smooth and error-free.
Why Plan?
Having a clear plan prevents errors during configuration and ensures all devices can communicate properly.
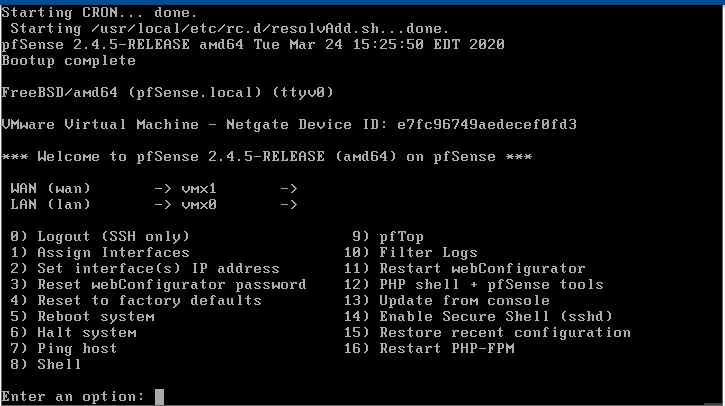
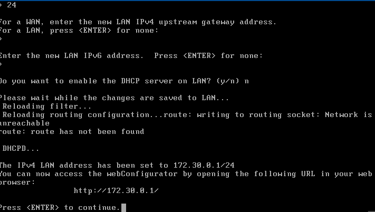
Step 2: Configure Interfaces Using the pfSense Console
Access the Console:
Boot up pfSense and log in using the default credentials (admin/pfsense).

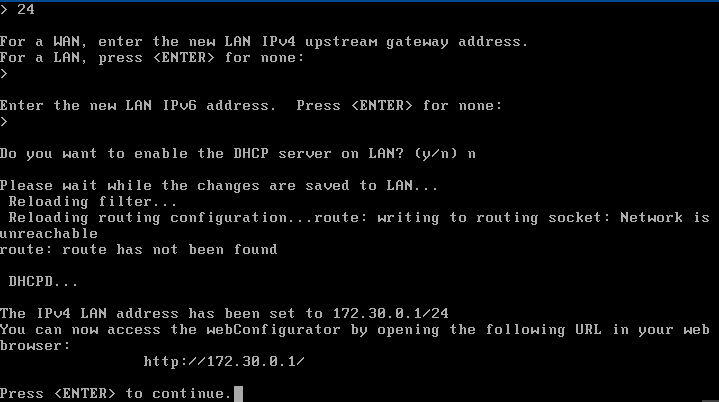
Set the LAN IP Address:
Enter 172.30.0.1 with a subnet mask of /24.
Leave the upstream gateway blank since LAN traffic doesn’t need a gateway.
Set the WAN IP Address:
Enter 202.20.1.1 with a subnet mask of /24.
Set the upstream gateway to 202.20.1.2.
Apply the changes and ensure there are no errors in the console output.
What This Does:
The LAN interface provides an internal network for devices to communicate. The WAN interface connects to the internet, allowing external traffic to flow in and out securely.
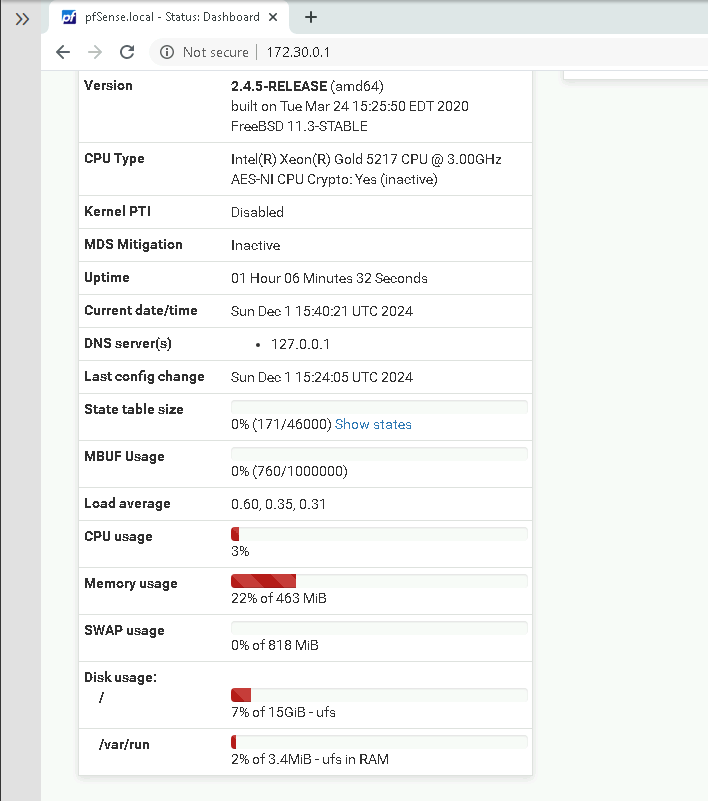
Step 3: Access the WebGUI
Once the interfaces were configured, I accessed the pfSense WebGUI to complete the setup.
Opened a browser on a device connected to the LAN.
Typed https://172.30.0.1 into the address bar.
Logged in with the default credentials (admin/pfsense).
Step 4: Complete the Setup Wizard
The Setup Wizard in the WebGUI made the process simple. Here’s what I configured:
Hostname: Winston-pfSense
DNS Servers: 8.8.8.8 (primary) and 8.8.4.4 (secondary).
Timezone: Etc/GMT-7.
Rules: Enabled rules for both LAN and WAN interfaces.
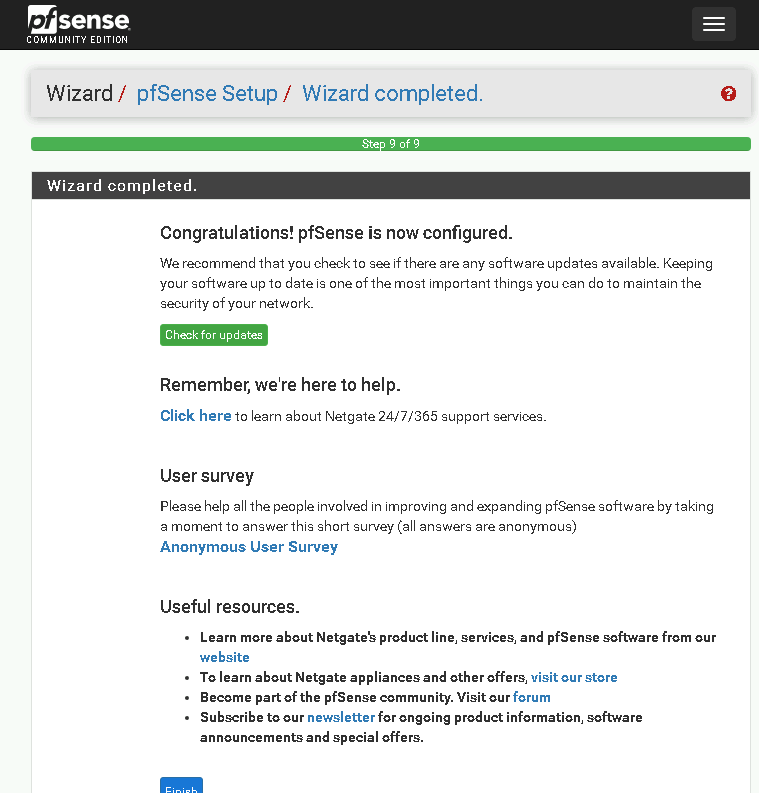
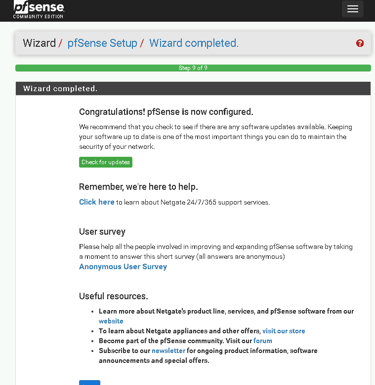
Why This Matters:
The Setup Wizard ensures that basic configurations like DNS and timezone settings are correct. It also sets up default rules for LAN and WAN traffic.
Step 5: Test Connectivity
To confirm the setup:
Ping the upstream gateway:
From the LAN interface, I pinged the upstream gateway (202.20.1.2) to verify internet access.Ping the WAN interface:
From an external device, I pinged the WAN IP (202.20.1.1) to ensure it was reachable.
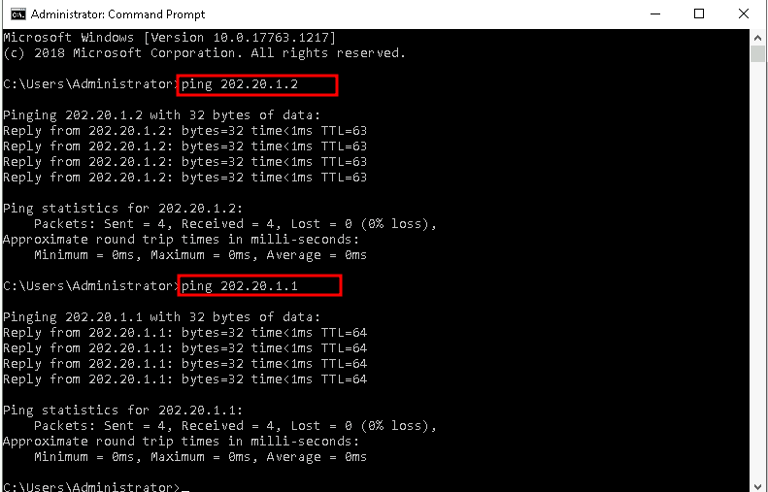

What This Proves:
The firewall is correctly configured, and traffic flows securely between the LAN and WAN.
Configuring a DMZ
A DMZ (Demilitarized Zone) is a network segment for public-facing services, like web servers, that need access to the internet but shouldn’t interact with internal devices. Adding a DMZ enhances security by isolating these services.
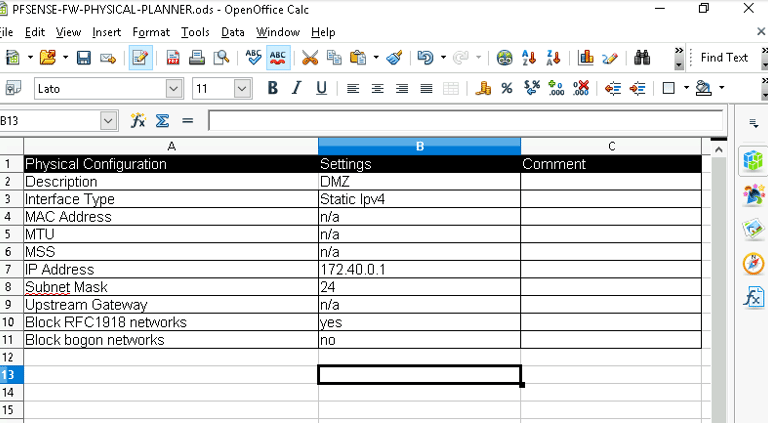
Step 1: Plan the DMZ
Here’s the DMZ setup I planned:
Why Use a DMZ?
The DMZ ensures that external services, like web servers, can interact with the internet without exposing the internal LAN to potential threats.
Step 2: Configure the DMZ Interface
Logged into the pfSense WebGUI.
Assigned the vmx2 network port to the OPT1 interface.
Renamed the interface to DMZ and enabled it.
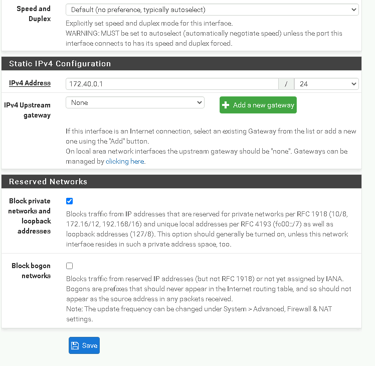
Set the DMZ IP address to 172.40.0.1 with a subnet mask of /24.
Applied the changes.
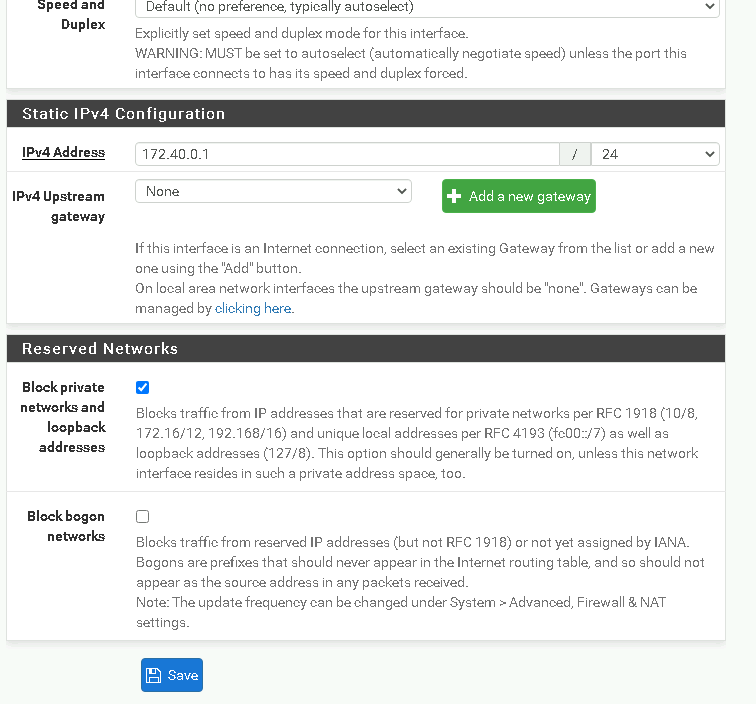
What This Does:
The DMZ interface creates a separate network segment for hosting public-facing services like websites, adding an extra layer of security.
Step 3: Test the DMZ
To verify the DMZ setup:
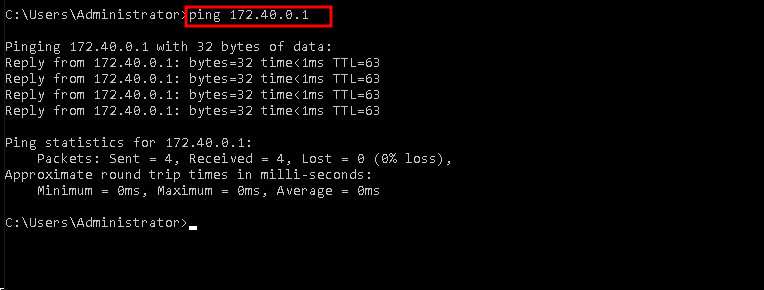
Ping the DMZ interface:
From a WAN-side device, I pinged the DMZ IP (172.40.0.1) to ensure it was reachable.Access a hosted website:
Opened a browser on the WAN-side device and accessed a web server hosted in the DMZ.

What This Proves:
The DMZ is functional, and the firewall correctly routes traffic to the public-facing services while isolating the LAN.