Designing a Secure Network with GNS3
ARTICLESBLOGS


Have you ever wondered how secure networks are built and tested? In this guide, you’ll learn how to create a basic network and then take it a step further by adding some security features. We’ll use GNS3, a popular network simulator that lets you play around with virtual devices. Whether you’re just starting or want a refresher, this guide will walk you through everything so lock in.
Why Network Design Matters
Think of a network like a city. The devices (computers, phones, etc.) are the buildings, the switches are like road intersections, and the router is the city’s main gate that connects to the outside world (the internet). Good design means smooth traffic flow and better security.
Creating a Basic Network
Let’s start by setting up a simple network using GNS3. This will give you a solid foundation to build on.
Step 1: Start a New Project in GNS3
Open GNS3 and create a new project. Give it a clear name like "MyFirstNetwork."


Note: Naming your project helps you keep things organized.
Step 2: Add Devices to Your Network
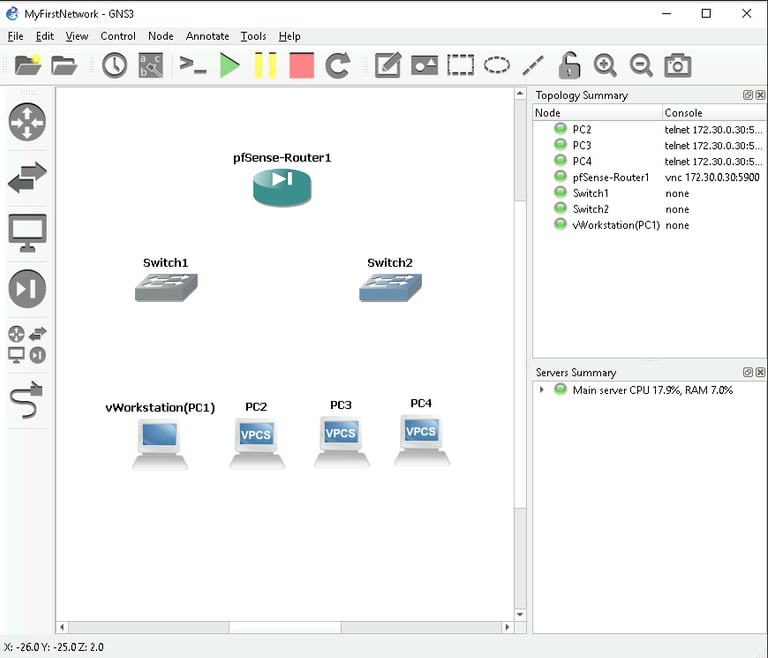
Drag and drop these devices onto the GNS3 canvas:
A virtual PC (vWorkstation)
Three other PCs (VPCS1, VPCS2, VPCS3)
Two switches
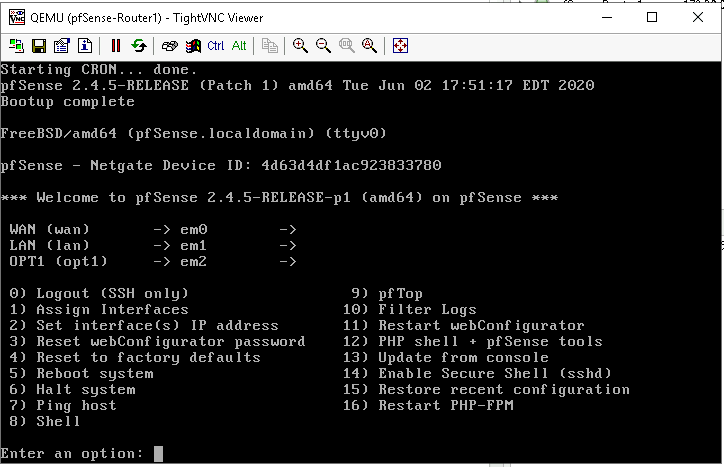
One pfSense router


What’s Happening Here?
The virtual PCs are like your laptops and desktops. The switches connect all the devices, and the router manages traffic and provides a firewall.
Step 3: Connect the Devices
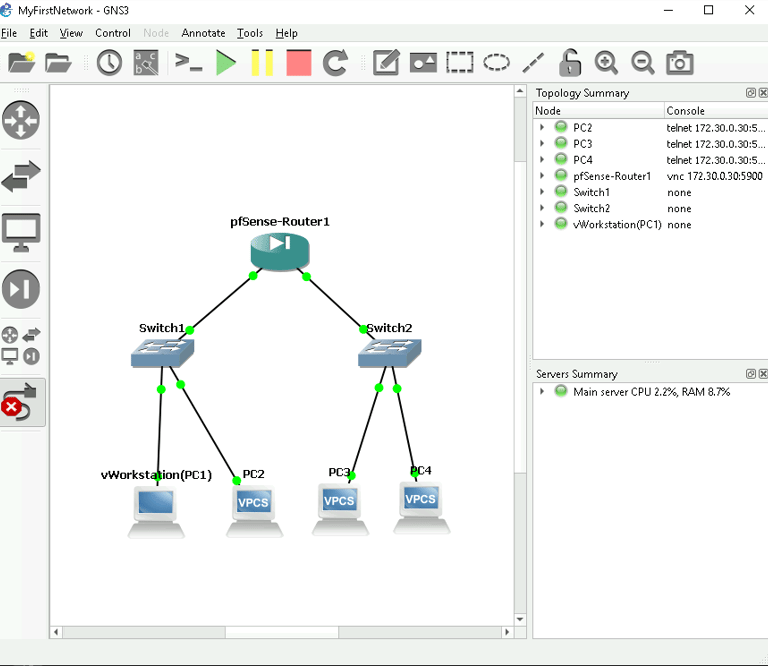
Connect the devices with Ethernet cables in GNS3:
Link the vWorkstation and VPCS1 to Switch 1.
Connect VPCS2 and VPCS3 to Switch 2.
Link both switches to the router.
Step 4: Assign IP Addresses
Give each device a unique IP address so they can find each other on the network:
vWorkstation172.30.0.2 255.255.255.0 172.30.0.1
VPCS1 - 172.30.0.3 255.255.255.0 172.30.0.1
VPCS2 - 172.30.1.2 255.255.255.0 172.30.1.1
VPCS3 - 172.30.1.3 255.255.255.0 172.30.1.1
Step 5: Test Connectivity with Ping
Use the ping command to see if the devices can communicate:
Try pinging from VPCS1 to VPCS2.


If the ping is successful, your network is working correctly!
Adding Security with VLANs
Now that the basic network is set up, it’s time to make it more secure using VLANs (Virtual LANs). VLANs help keep different parts of the network separate, like putting up walls between departments.
Set Up VLANs in the Router
In the pfSense router, go to Interfaces > VLANs and create two VLANs:
VLAN 10: for Sales
VLAN 20: for HR


Why Use VLANs?
VLANs keep network traffic separate, so someone from the Sales team can’t accidentally access HR’s sensitive data.
This setup ensures that traffic from each VLAN is isolated, boosting security.
