
Configuring a VPN Server with pfSense - A Step-by-Step Guide
ARTICLES


In today’s interconnected world, securing your network is essential. One of the most powerful tools for achieving this is a Virtual Private Network (VPN). This blog will guide you through configuring a VPN server using pfSense—a robust, open-source firewall and router software. We'll also show how to configure firewall rules to secure VPN traffic effectively. Let’s dive in!
What is a VPN and Why is it Important?
A VPN creates a secure, encrypted tunnel over the internet, connecting remote users to a private network safely. It safeguards sensitive data from prying eyes, ensuring that hackers can't intercept communications. Whether it's employees accessing company files or individuals seeking online privacy, VPNs are a cornerstone of modern cybersecurity.
Setting Up an IPsec VPN Server
1. Creating a Certificate Authority (CA)
The first step in configuring a VPN is setting up a Certificate Authority (CA), which validates the server for client connections.
Log in to pfSense Web GUI:
Open your browser and navigate to http://172.30.0.1.
Enter the credentials:
Username: admin
Password: pfsense
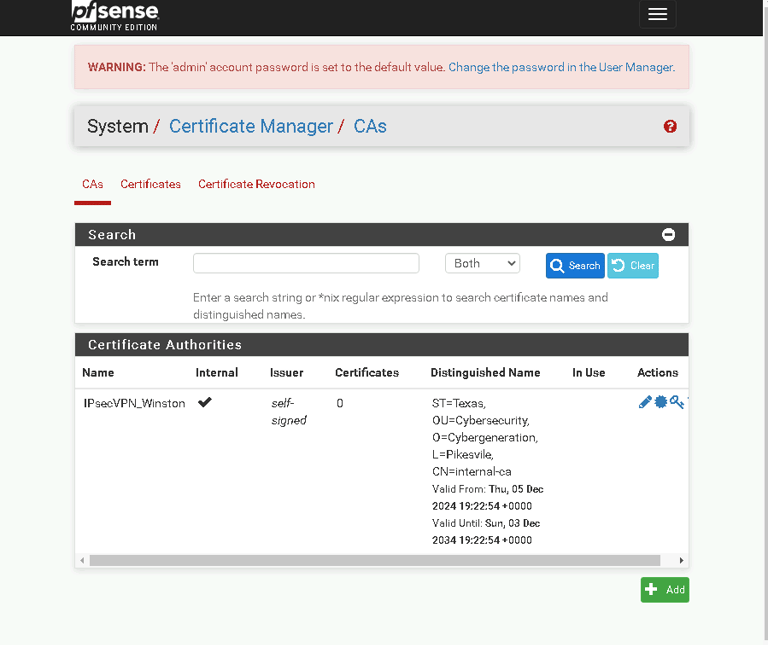
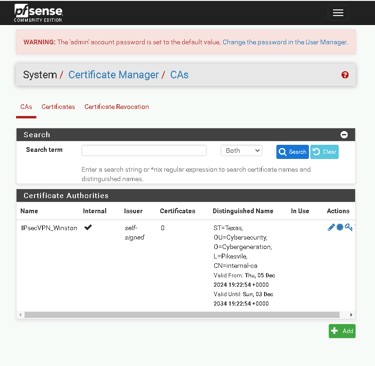
Create the CA:
Navigate to System > Cert Manager > CAs.
Click Add and input the following details:
Descriptive Name: IPsecVPN_yourname
Key Length: 2048 bits
Digest Algorithm: SHA256
Lifetime: 3650 days
Fill in details like your country, state, and organization.
Click Save.
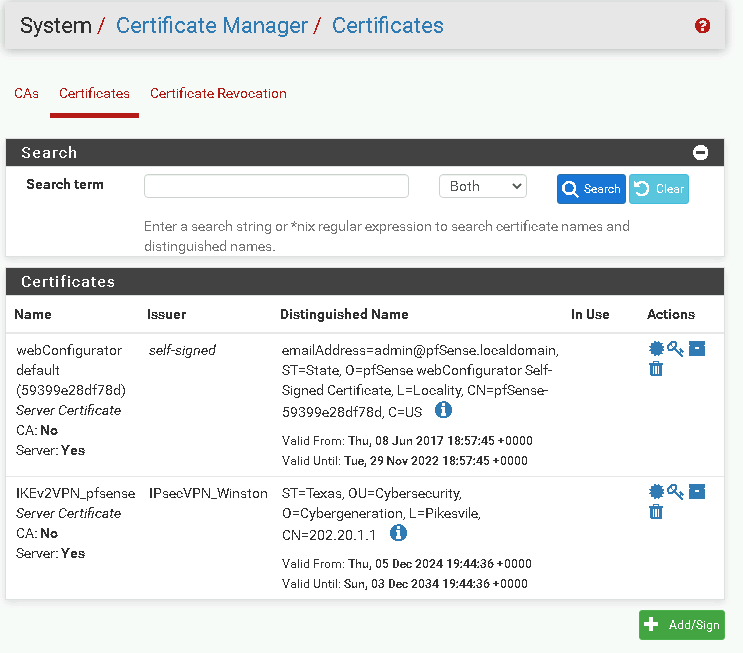
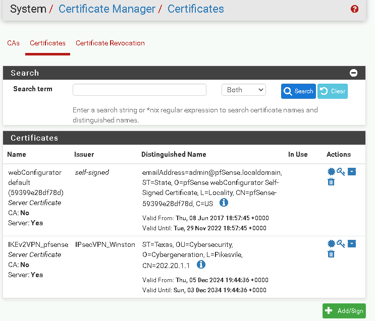
Adding a Server Certificate
Once the CA is set up, you’ll create a server certificate to authenticate the VPN server.
Go to System > Cert Manager > Certificates.
Click Add/Sign and use the following details:
Descriptive Name: IKEv2VPN_pfSense
Certificate Authority: Select IPsecVPN_yourname
Key Length: 2048 bits
Digest Algorithm: SHA256
Lifetime: 3650 days
Common Name: Enter your firewall’s WAN IP address, e.g., 202.20.1.1.
Save the certificate and return to the Certificates page.
Enabling IPsec Mobile Client Support
Navigate to VPN > IPsec > Mobile Clients.
Enable IKE Extensions by checking the box.
Configure the following:
Virtual Address Pool: 172.31.1.0/24
Enable the Network List for accessible networks.
Click Save and then Apply Changes.
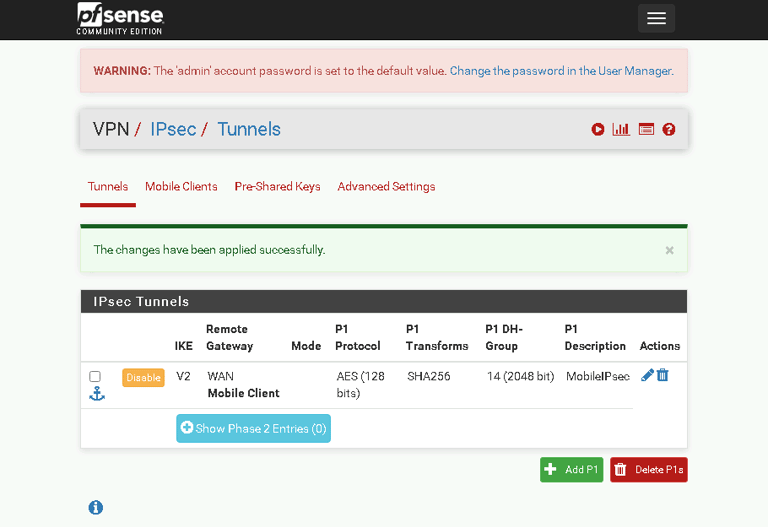
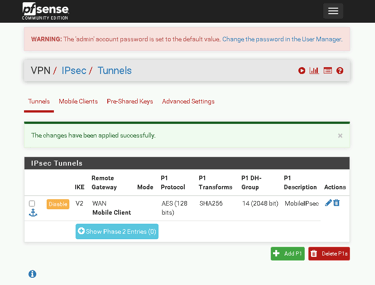
4. Setting Up the VPN Tunnel
The VPN tunnel facilitates secure communication between clients and the network.
Go to VPN > IPsec > Tunnels and click Create Phase 1.
Use these configurations:
Key Exchange Version: IKEv2
Interface: WAN
Authentication Method: EAP-MSChapv2
Identifier: WAN IP address (202.20.1.1).
Save the configuration and click Apply Changes.
Create a Phase 2 entry to define how traffic flows through the VPN:
Local Network: 0.0.0.0/0 (routes all traffic through the VPN).
Use AES-256 encryption for enhanced security.
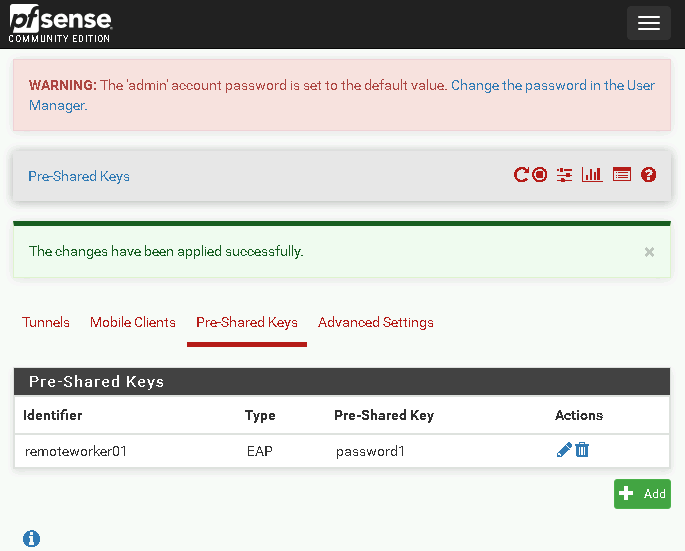
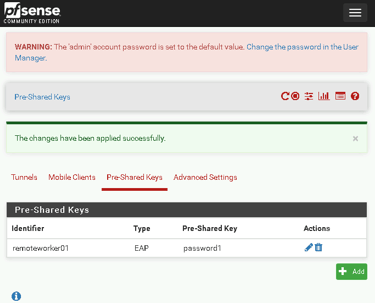
Adding a Pre-Shared Key
Navigate to IPsec > Tunnels > Pre-Shared Keys.
Add a new key:
Identifier: remoteworker01
Key: password1
Save and apply changes.
Configuring OpenVPN
In this section, you’ll configure OpenVPN, another widely-used VPN protocol known for its flexibility and security.
1. Launching the OpenVPN Wizard
Navigate to VPN > OpenVPN > Wizards.
Select Local User Access as the authentication backend and proceed.
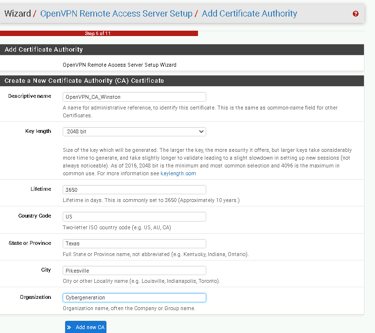
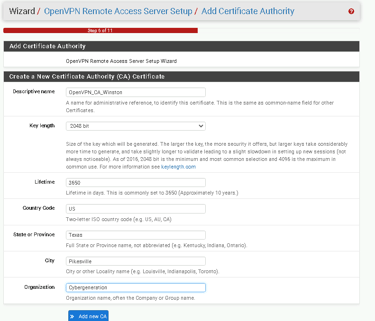
2. Creating a Certificate Authority
At the CA Selection page, click Add new CA.
Input the following details:
Descriptive Name: OpenVPN_CA_yourname
Use default key length (2048 bits) and lifetime (3650 days).
Save and proceed.
3. Adding a Server Certificate
On the Server Certificate Selection page, click Add new Certificate.
Fill in:
Descriptive Name: OpenVPN_SC_yourname
Save and continue.
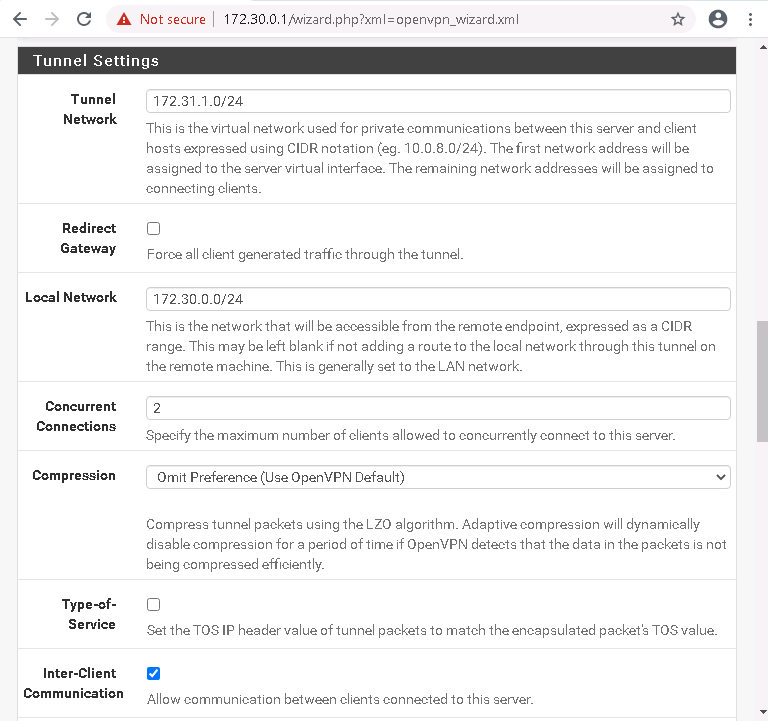
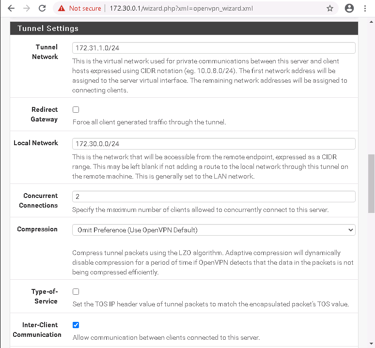
4. Configuring Tunnel Settings
Input these settings:
Tunnel Network: 172.31.1.0/24
Local Network: 172.30.0.0/24
Concurrent Connections: 2
Enable Inter-Client Communication.
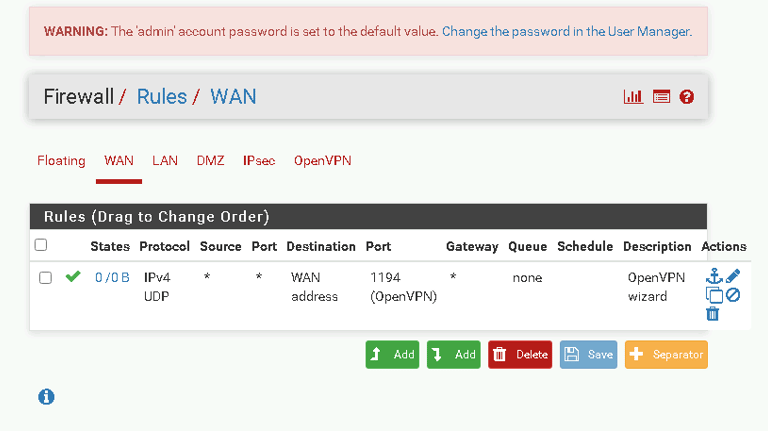
5. Setting Up Firewall Rules
At the Firewall Rule Configuration page, allow traffic through the OpenVPN tunnel.
Verify the new rules under Firewall > Rules > OpenVPN.
Congratulations! You’ve successfully configured a secure VPN server using pfSense. This step-by-step guide has equipped you with the skills to create and secure VPN connections, allowing remote users to safely access network resources. Regularly review and update your VPN configurations to stay ahead of evolving threats.