
Configuring a VPN Client for Secure File Transfers
ARTICLES

In an era where secure data transmission is paramount, configuring a Virtual Private Network (VPN) for file transfers ensures the protection of sensitive information. This blog provides a detailed guide to setting up a VPN client and analyzing secure vs. non-secure file transfers using Wireshark.
Configuring a Windows VPN Client
What is a VPN?
A Virtual Private Network (VPN) creates a secure tunnel between your device and the target network, ensuring data is encrypted and inaccessible to unauthorized entities. In this guide, we use an IKEv2/IPsec VPN, known for its robust security and performance.
Step-by-Step VPN Configuration
Access Network Settings:
Open the Network and Sharing Center on your Windows device.
Click Set up a new connection or network.
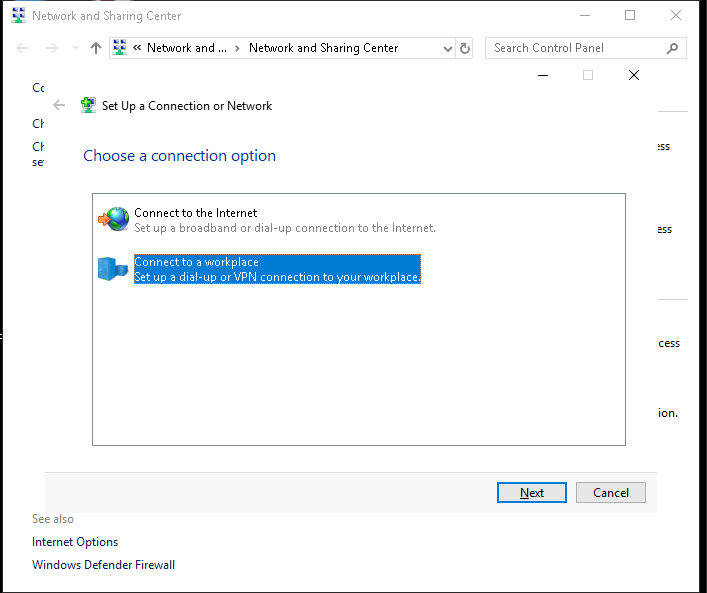
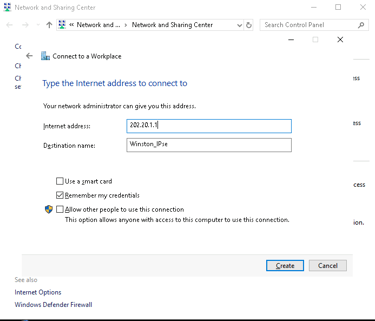
Set Up the VPN:
Choose Connect to a workplace and select Use my Internet connection (VPN).
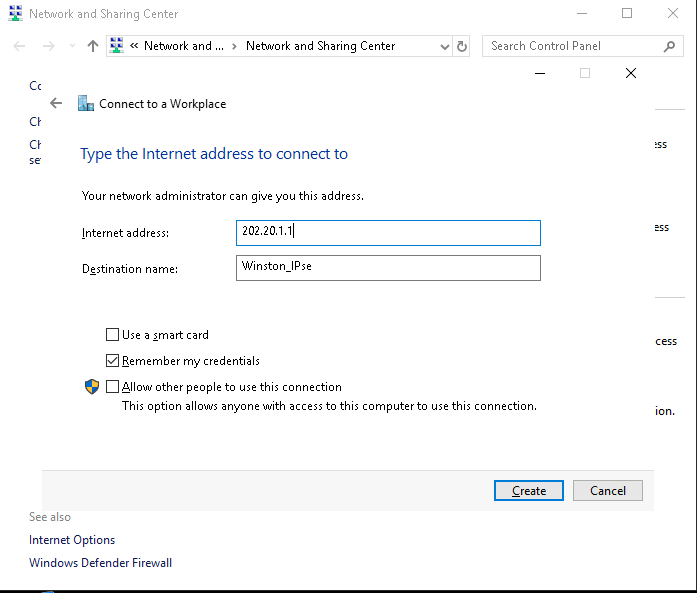
Enter the external IP address of the VPN server (e.g., 202.20.1.1) and name the connection.
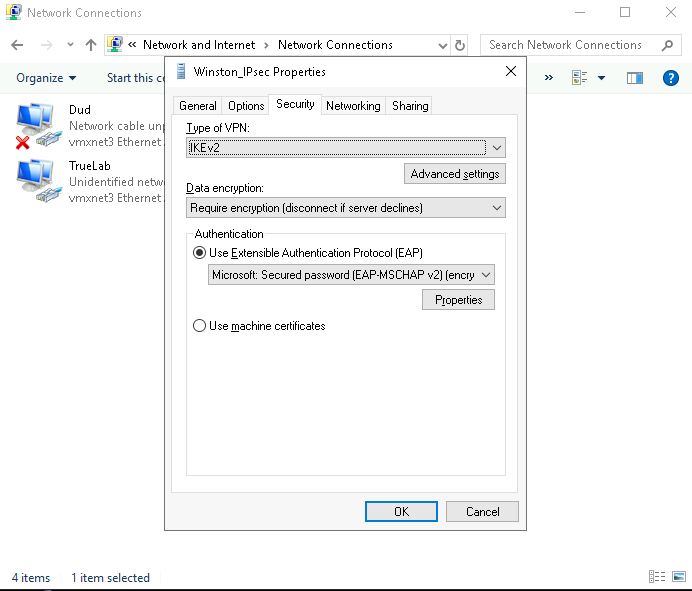
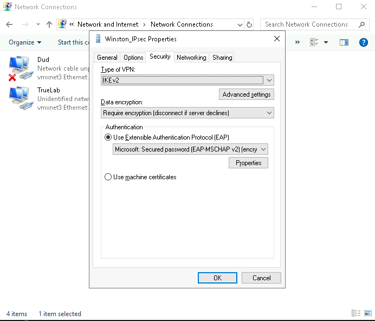
Configure Security Settings:
Right-click the connection and select Properties.
Under the Security tab:
Set the Type of VPN to IKEv2.
Enable Require Encryption.
Select Use Extensible Authentication Protocol (EAP).
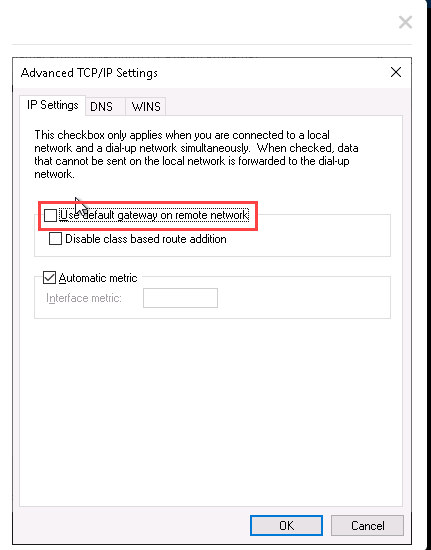
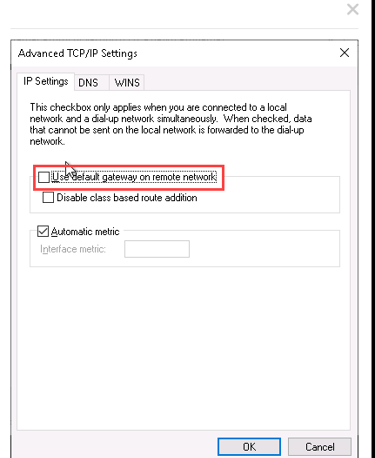
Optimize Networking:
Go to the Networking tab.
Uncheck IPv6 and adjust IPv4 settings to disable the default gateway on the remote network (split tunneling).
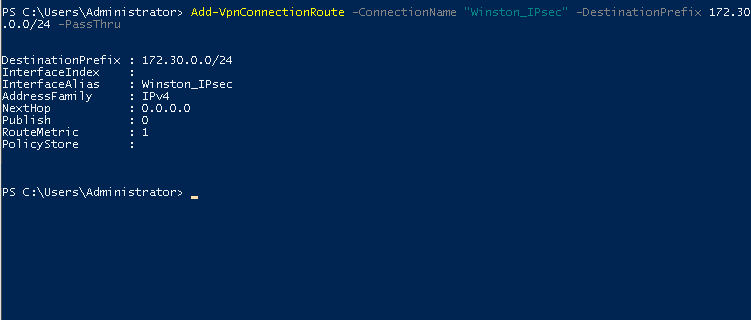
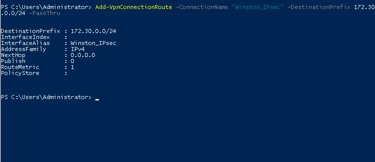
Add the VPN Route:
Open PowerShell and run:
Add-VpnConnectionRoute -ConnectionName "your_VPN" -DestinationPrefix 172.30.0.0/24 -PassThru
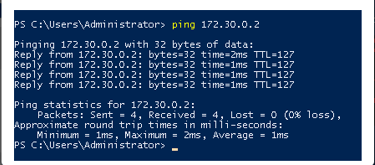
Test the Connection:
Connect to the VPN and verify connectivity by running:
ping 172.30.0.2
Use tracert to confirm the secure routing of packets.

Comparing Secure and Non-Secure File Transfers
After setting up the VPN, we analyze the differences between secure (SSH) and non-secure (FTP) file transfers using Wireshark.
Analyzing Non-Secure Transfers (FTP):
Open the ftp-capture file in Wireshark.
Apply a filter for FTP traffic:
ftp
Examine packet details:
Packet 12: The FTP server is ready for a new connection.
Packet 16: The user attempts to log in with a password.
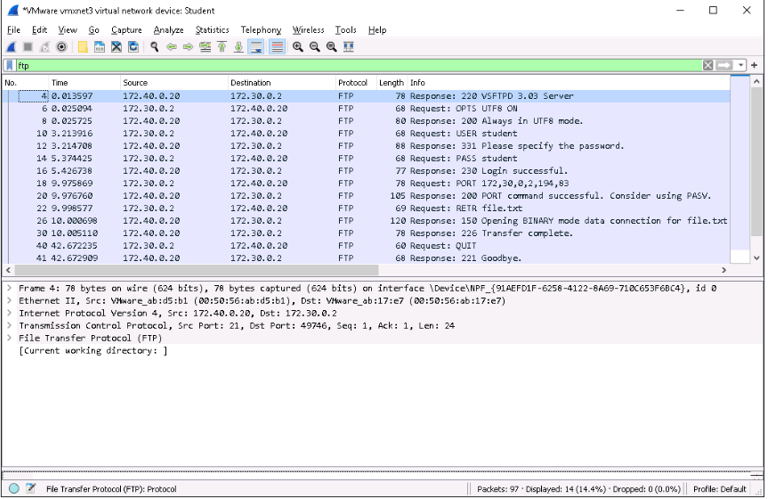
Explore the file transfer:
Packet 63: The file /home/student/ipsec.conf is being retrieved.
Packet 69: The file contents are displayed in the packet bytes pane.
Analyzing Secure Transfers (SSH):
Open the ssh-capture file in Wireshark.
Apply a filter for SSH traffic:
ssh
Review the key exchange process:
Packet 15: Encryption and authentication mechanisms are negotiated.
Packets 26-79: The file is transferred securely, with contents encrypted.