
How to Configure Windows Defender Firewall to Allow HTTP Traffic
BLOGSARTICLES


In this guide, I’ll walk you through how I configured the Windows Defender Firewall to allow HTTP traffic using both the GUI (Graphical User Interface) and PowerShell. This step-by-step tutorial will help you understand how to manage firewall rules like a pro. Let’s get started!
Why Configure the Firewall?
Firewalls are your system’s gatekeepers. By default, Windows Defender Firewall blocks all incoming traffic unless there’s a rule that specifically allows it. While this is great for security, it can also block legitimate traffic—like HTTP requests for web servers. So, when I needed to access a web server, I had to configure the firewall to allow HTTP traffic on port 80. Here’s how I did it.
Step 1: Testing the Firewall
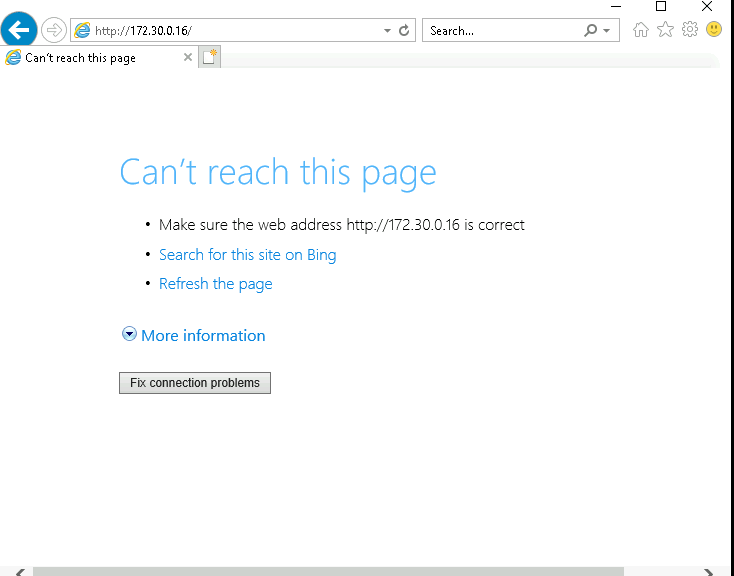
First, I tested what happens when HTTP traffic tries to pass through the firewall without a rule.
Opened Internet Explorer on my workstation.
Typed the IP address of the server (http://172.30.0.16) into the browser and hit Enter.
As expected, the browser threw an error saying it couldn’t connect to the server.
Why This Happens:
Without a rule to allow HTTP traffic, the firewall blocks everything. This is the default behavior for Windows Defender Firewall, which uses a “deny all unless explicitly allowed” policy.
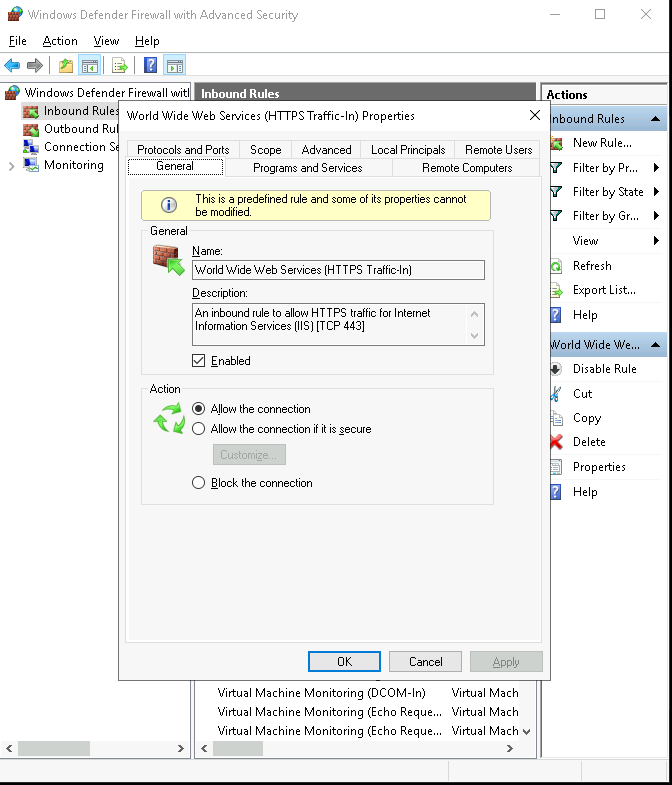
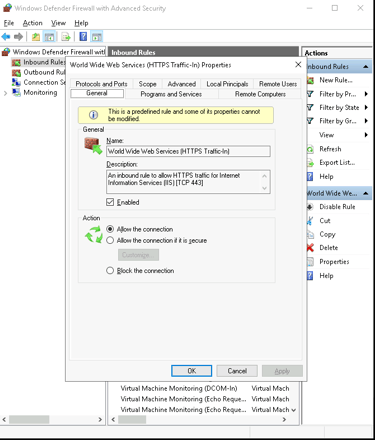
Step 2: Enabling HTTP Traffic Using the GUI
To allow HTTP traffic, I enabled a built-in firewall rule for World Wide Web Services (HTTP Traffic-In).
1. Navigate to the Firewall Settings
Logged into the server.
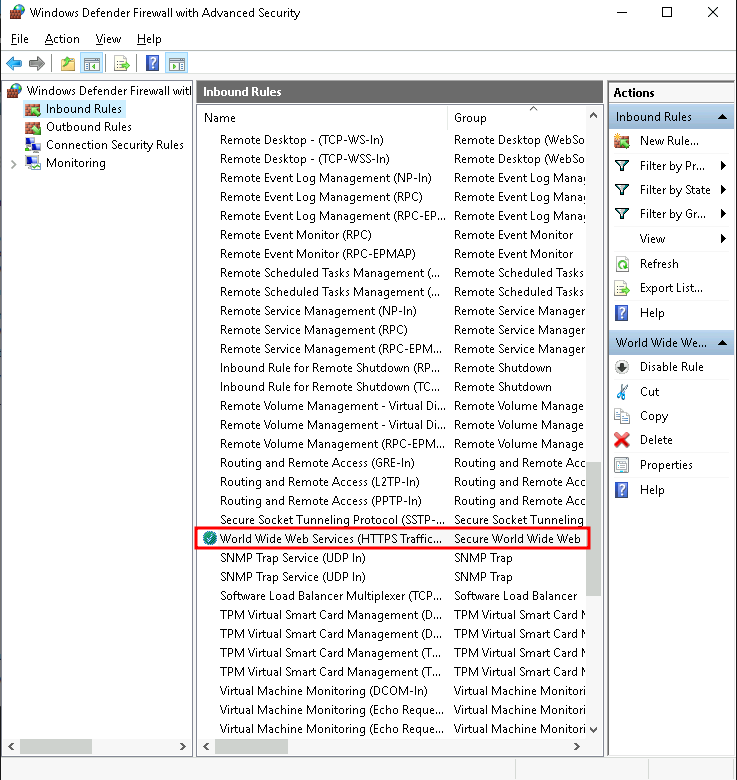
Opened Control Panel > System and Security > Windows Defender Firewall > Advanced Settings.
Clicked on Inbound Rules.
2. Find and Enable the Rule
Located the rule named World Wide Web Services (HTTP Traffic-In).
Right-clicked the rule and selected Enable Rule.
Opened the rule’s Properties and verified:
Under Protocols and Ports, it was set to TCP on port 80.
In General, the rule was enabled.
Why This Works:
Enabling this rule tells the firewall, “It’s okay to allow HTTP traffic on port 80.” Once this is done, the firewall permits web requests to reach the server.
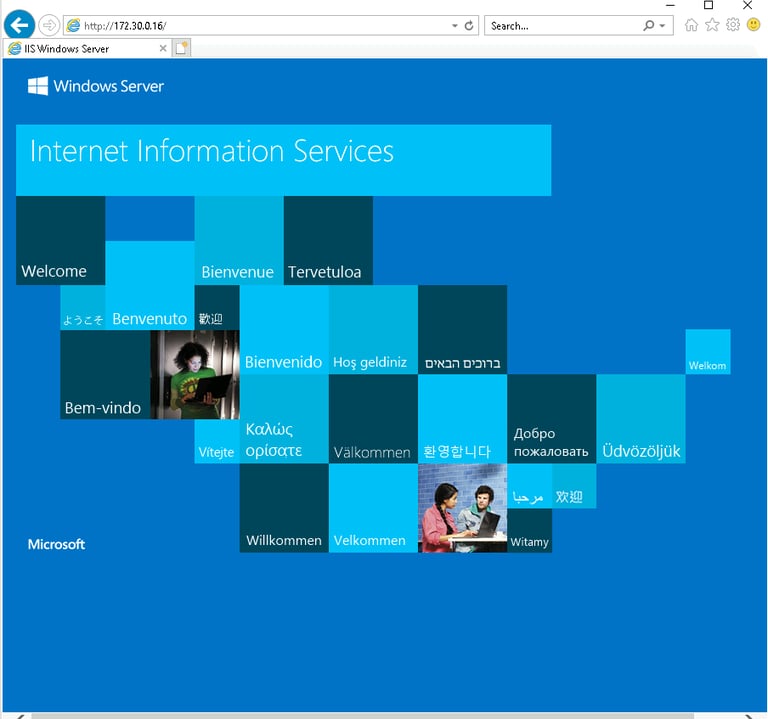
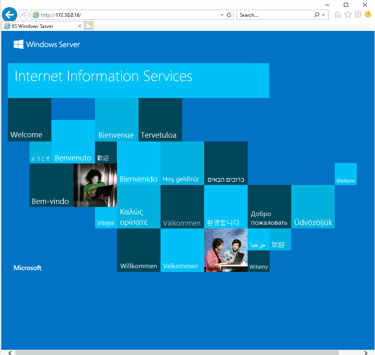
Step 3: Verifying the Rule
Next, I tested if the rule worked as intended.
Opened Internet Explorer on my workstation again.
Typed the server’s IP address (http://172.30.0.16) into the browser.
This time, the browser successfully loaded the IIS homepage.
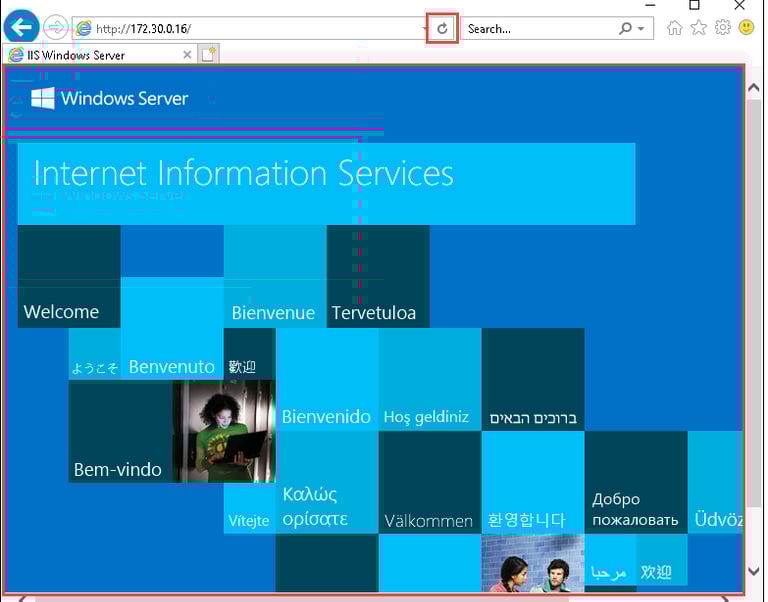
What This Proves:
The firewall rule was applied correctly, and HTTP traffic is now allowed!
Step 4: Configuring the Firewall Using PowerShell
To make things more efficient, I also configured the same firewall rule using PowerShell. This method is especially useful when working with multiple systems or automating tasks.
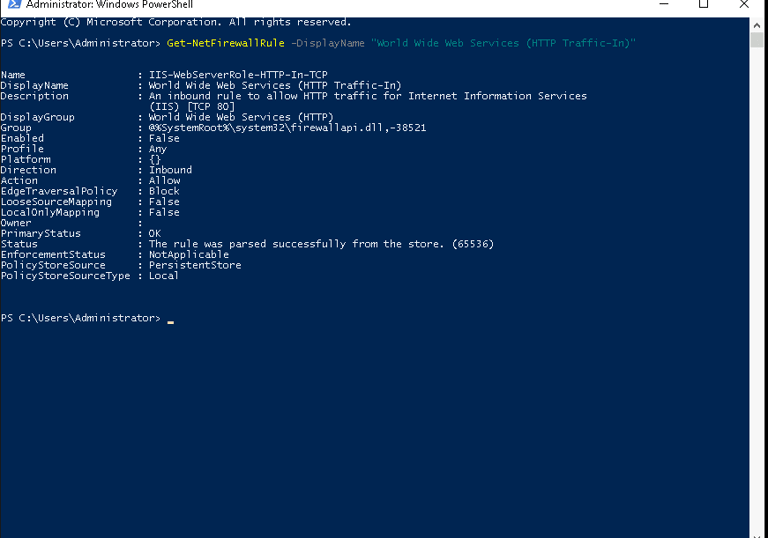
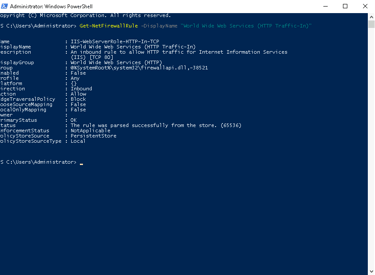
1. Check the Status of the Rule
First, I checked if the HTTP rule was enabled using this command:
Get-NetFirewallRule -DisplayName "World Wide Web Services (HTTP Traffic-In)"
The output showed the rule’s current status, including whether it was enabled or disabled.
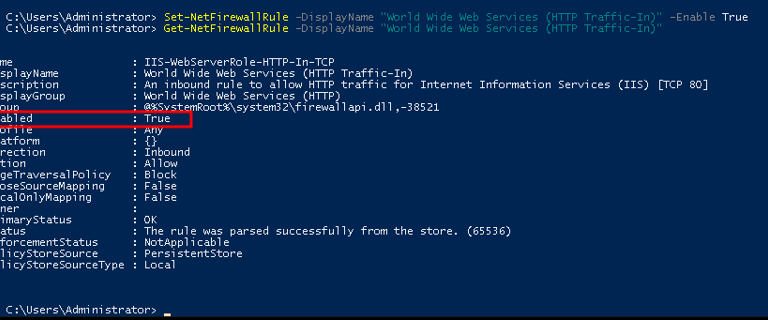
2. Enable the Rule
To enable the rule, I ran this command:
Set-NetFirewallRule -DisplayName "World Wide Web Services (HTTP Traffic-In)" -Enabled True
I verified the status again using Get-NetFirewallRule.
Why Use PowerShell?
PowerShell is faster and more flexible, especially when managing multiple machines. Instead of clicking through menus, you can configure everything with a few commands.
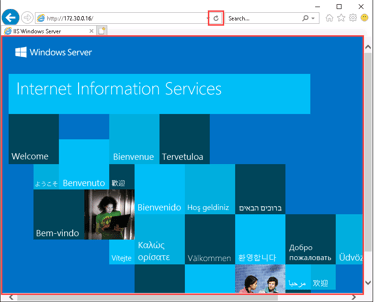
3. Test the Rule Again
Finally, I tested the HTTP connection one more time by visiting the server’s IP address in the browser. The IIS homepage loaded successfully, just like before.
If you’re managing multiple systems or want to save time, PowerShell is your best friend. For one-off configurations, the GUI is intuitive and easy to use. Mastering both methods will make you a well-rounded network administrator.